

ElasticSearch on Windows
So you’ve decided not to use Amazon Web Service’s (AWS) OpenSearch service locally in Docker and instead opted for the original technology – ElasticSearch. No judgement here! While ElasticSearch can be run in docker, you might think that to run it locally on Windows, you must start by installing ElasticSearch, right?
Installing ElasticSearch is Easier Than You Think!
First thing’s first: ElasticSearch isn’t installed.
Instead, you can download and run pre-compiled binaries from the elastic.co website. “Pre-compiled” means that the good folks at elastic.co have already taken the source code and turned it into something that’s ready for you to start playing with. How kind!
Choosing Your ElasticSearch Version
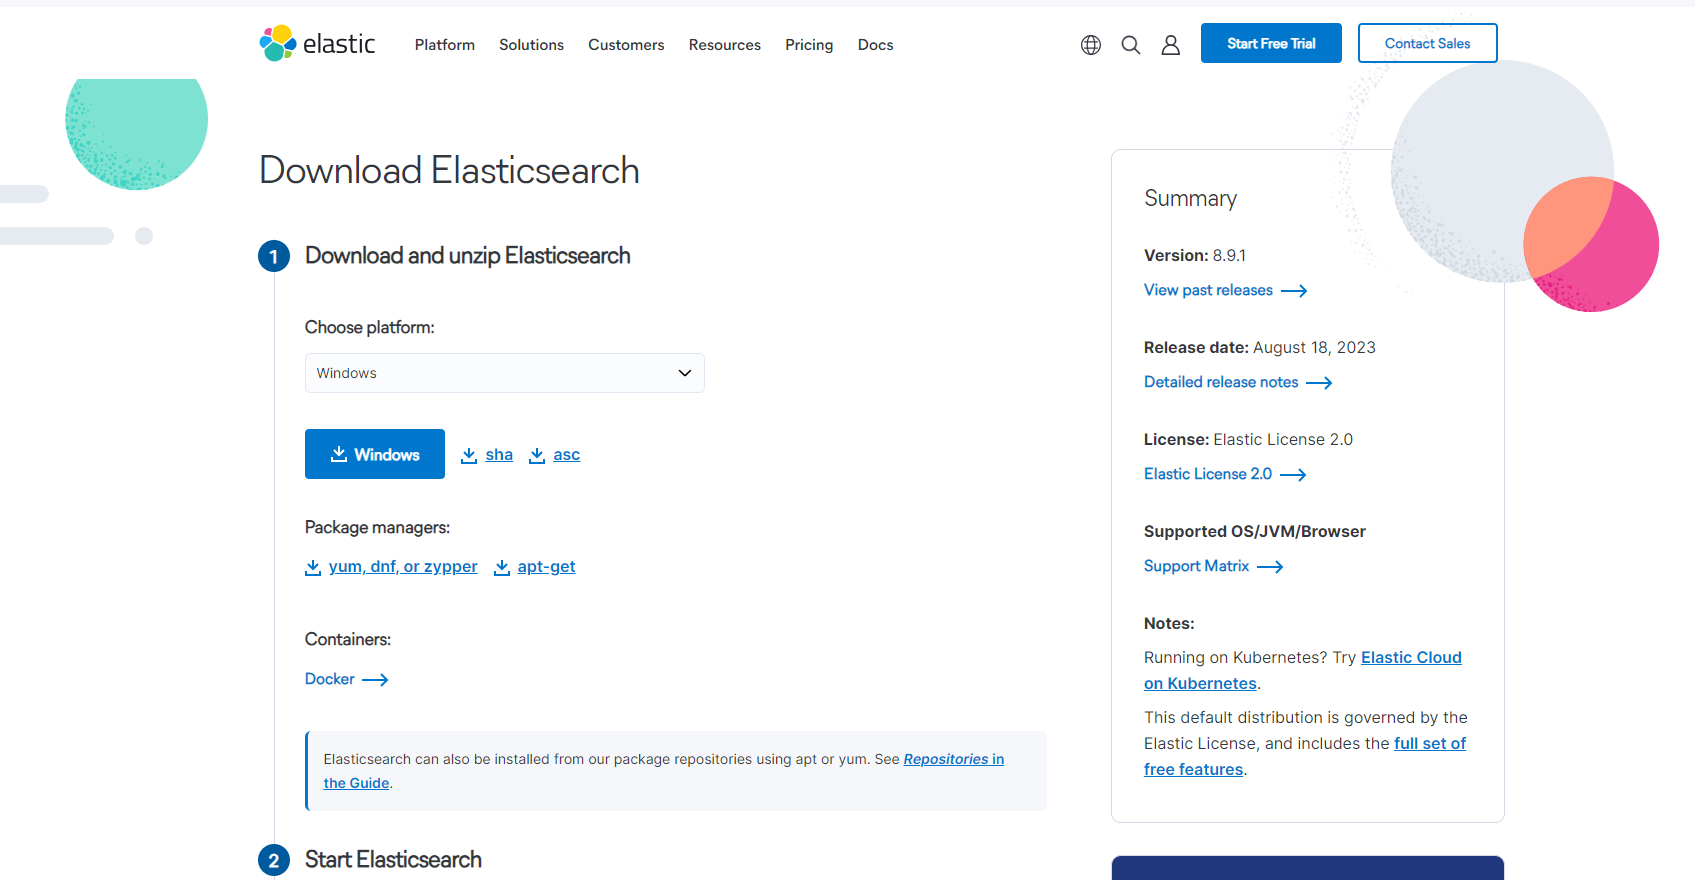
If you’re hellbent on using ElasticSearch (because you’ll eventually host it yourself or run a cluster via their managed service), I’d recommend starting on the latest version. Head over to the elastic.co download page and hit the big blue download button. This will get you the binaries for the latest release.
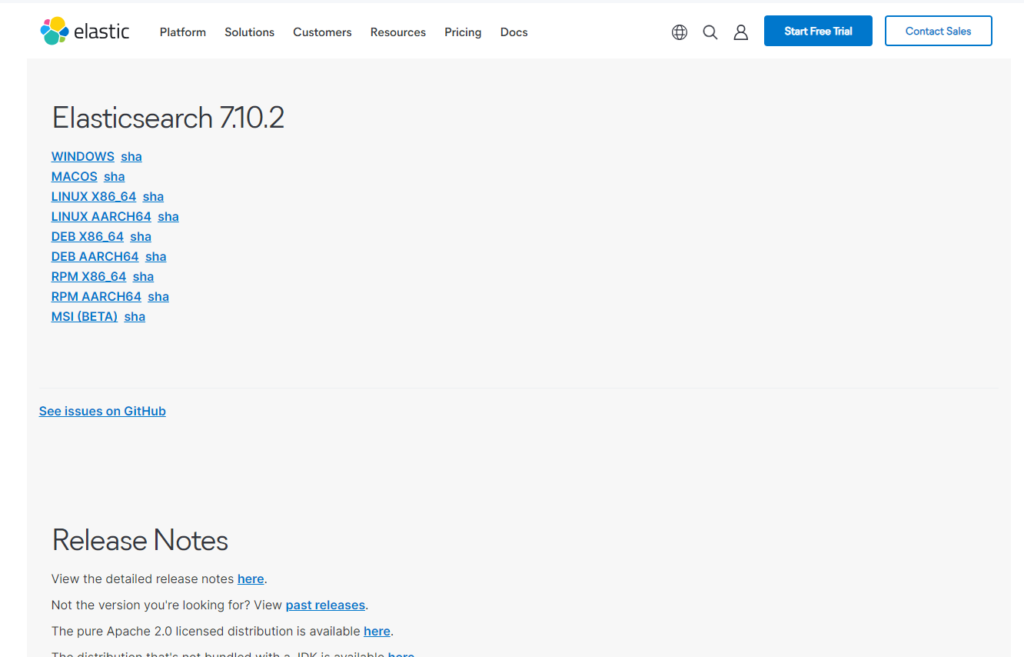
If you’re unsure about ElasticSearch v.s. OpenSearch, you can download version 7.10.2. This is the version of ElasticSearch that OpenSearch was forked from, so they will effectively be identical. In this case, head over to the past releases page for this version and click WINDOWS to download a zip of the binaries.
If you’d like to learn more about the difference between getting started with Elasticsearch v.s. Opensearch, check out this blog post. If you’re looking to run a cluster in a production environment, you may be best working with Opensearch. This is because Opensearch is owned by Amazon Web Services (AWS), a cloud provider. If you choose to host a managed Elasticsearch cluster with Elastic.co, they will ultimately make you choose a cloud provider (such as AWS) to deploy the cluster onto.
Unless you have an abundance of engineers available, it would be worthwhile avoiding managing an Elasticsearch or Opensearch cluster yourself in a production environment. Orchestrating the hardware, keeping it patched and scaling the cluster over time will create exponentially more work for you and your team and detract from being able to achieve awesome search-related things!
Running ElasticSearch for a Single Node Cluster
Running ElasticSearch is extremely simple when using the default single-node cluster configuration. This should be more than enough for you to start learning about the technology with a small dataset.
Navigate to the folder that you downloaded the .zip file to and unzip it. Navigate to the bin folder and open it.
You have a couple of different options for running it from here:
- Double-click the .bat file
- Open a PowerShell terminal in the
binfolder, typeelasticsearchand hit enter
I prefer the latter, as it will persist error/exception messages should the application crash.
Common ElasticSearch Install Problems
JRE Does Not Meet Requirments for ElasticSearch Install
You may experience an issue when attempting to start ElasticSearch for the first time:
<code>future versions of Elasticsearch will require Java 11; your Java version from [C:\Program Files\Java\jdk1.8.0_251\jre] does not meet this requirement</code>
Elasticsearch is written in Java, which means that it requires the Java Runtime Environment (JRE) in order to run. The JRE contains all of the Java libraries that Elasticsearch needs to run, as well as the Java Virtual Machine that drives the application.
For this reason, Elasticsearch is written with an expectation of the minimum JRE level required to run. If your Operating System does not have a sufficient version installed, you will receive an error message when running Elasticsearch for the first time.
Download JDK Version 11
To resolve this error message, first download the JDK version 11. The Java Development Kit (JDK) includes the JRE. You’ll annoyingly need to create an account to do this.
Please ensure that you select the correct version of the installer to download. If working on a Windows computer, you will likely require Windows x64 Installer.
Install JDK Version 11
Double click the .exe that you downloaded. This will launch the installation dialog.
Click next and then select a location to install the JDK. It is best to keep the defaults, as shown below.
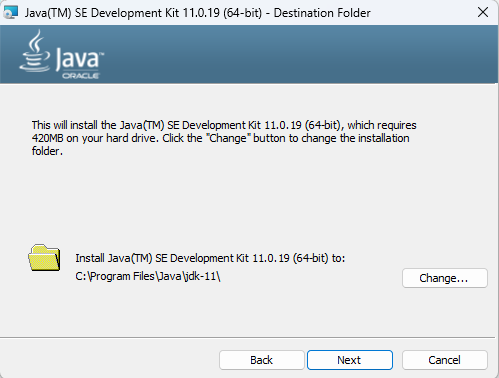
Click next and let the install complete.
Setting the JAVA_HOME Environment Variable
We now need to set the JAVA_HOME environment variable, which will resolve which JDK version to use when apps launch.
Because we installed the JDK to C:\Program Files\Java\jdk-11.0.19, this is what we should set the JAVA_HOME environment variable to.
- Open the start menu and type
Environment Variables - Select the
Edit the system environment variablesmenu item - Under the
Advancedtab, click theEnvironment Variables...button
Depending on the level of scope, click New under either User variables or System Variables, type in the JAVA_HOME variable name and choose the installation directory.
Click ok and close the window. Your system may require a reboot to pick up this change.
Sloth Summary
Installing ElasticSearch
There we have it! Installing ElasticSearch on your computer is much simpler than you might think, because there’s nothing to install other than perhaps an appropriate version of the Java Runtime Environment (JRE)!
In this tutorial, we have covered where to download the ElasticSearch binaries and how to run a single node cluster.
Beyond Installing ElasticSearch: Connecting to a Cluster
The next step is connecting to a running cluster, and picking your new favourite tool for the job. Luckily we’ve got you covered in this blog post on ElasticSearch and OpenSearch connectivity.
Happy searching! ?