

Getting started with Cursor AI can be a daunting thought. However, once you understand the basics, it is actually quite simple. This blog post is the first in a series that will guide you through setting up and running Cursor AI to automate your software engineering workflow. Large Language Models (LLMs), Model Content Protocol (MCP) servers and Rules/Specs will have you supercharging your productivity in no time.
Let’s get started! 🦥
Getting Started with Cursor AI on Windows
Install the Application
Firstly, we will need to install Cursor. Head over to https://www.cursor.com/ and click Download For Windows.
Run the .exe to install Cursor AI.
Create a Free Cursor AI Account
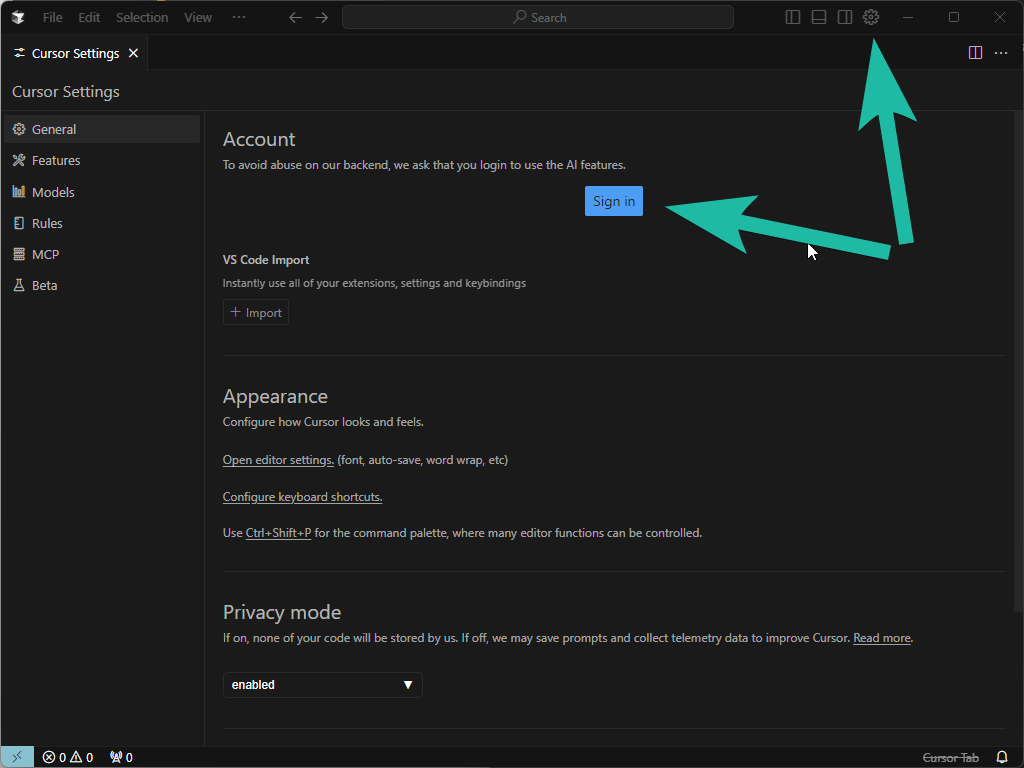
Open Cursor and click the gear icon at the top of the screen. Click the Sign in button
Then, proceed into the sign up flow.

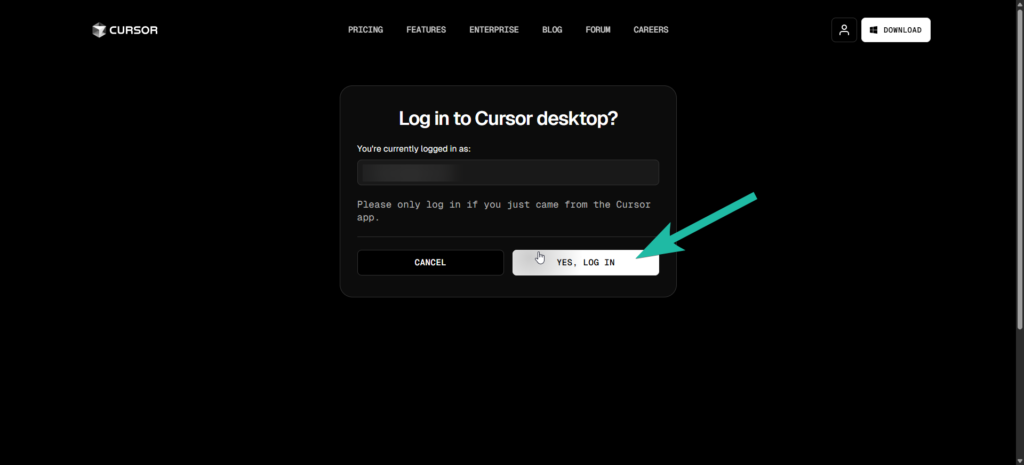
You’ll then be asked to sign into Cursor desktop. Click YES, LOG IN.
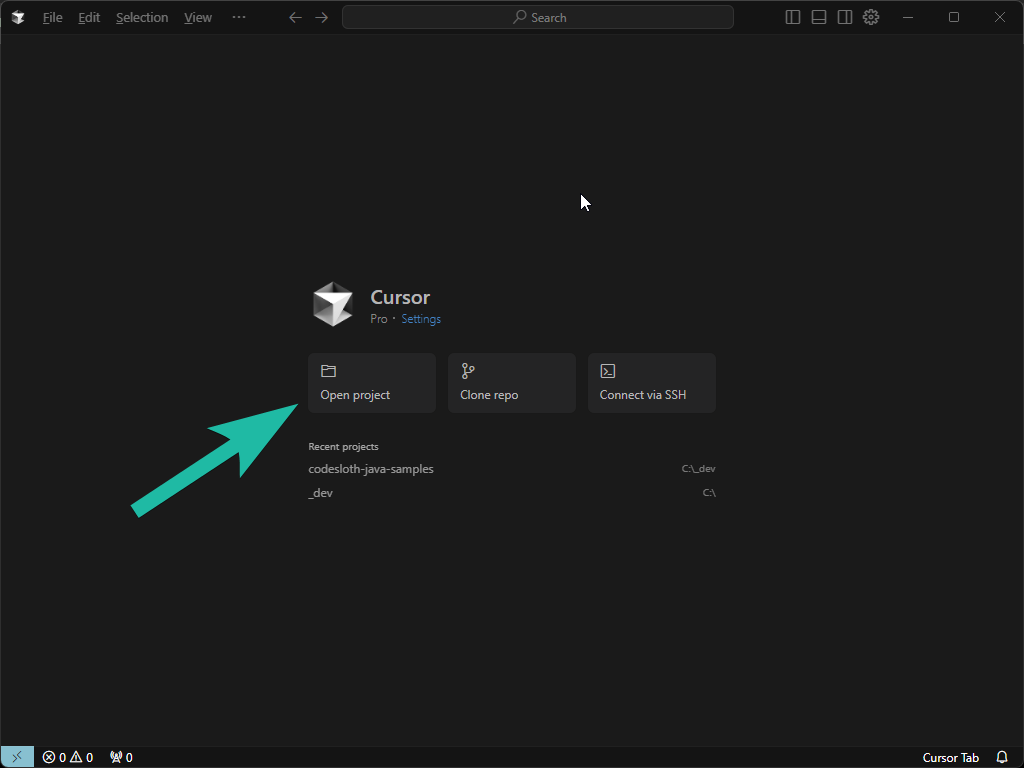
Close the settings window and select Open project. A project is essentially just a folder and you can get started with a completely empty one.
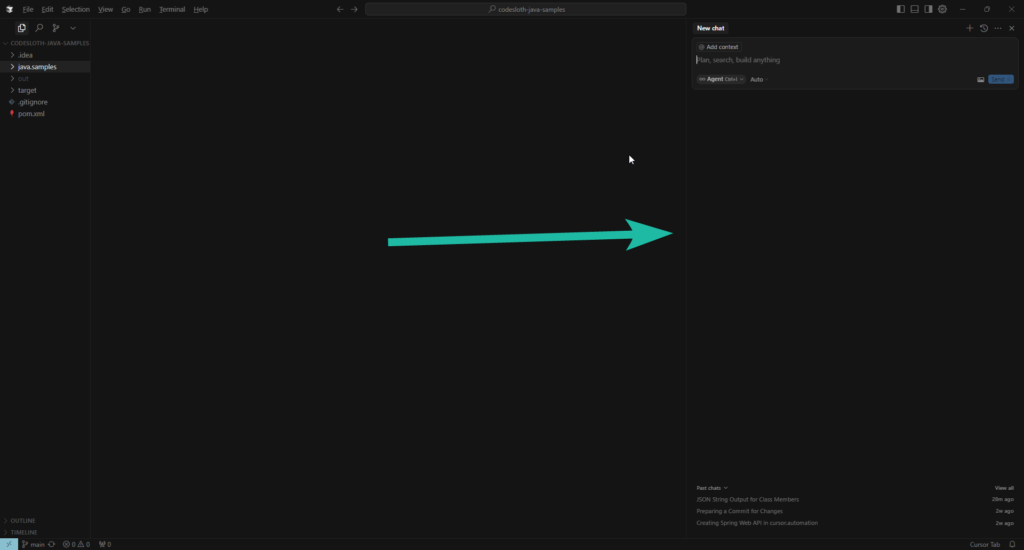
Opening the Cursor AI Pane
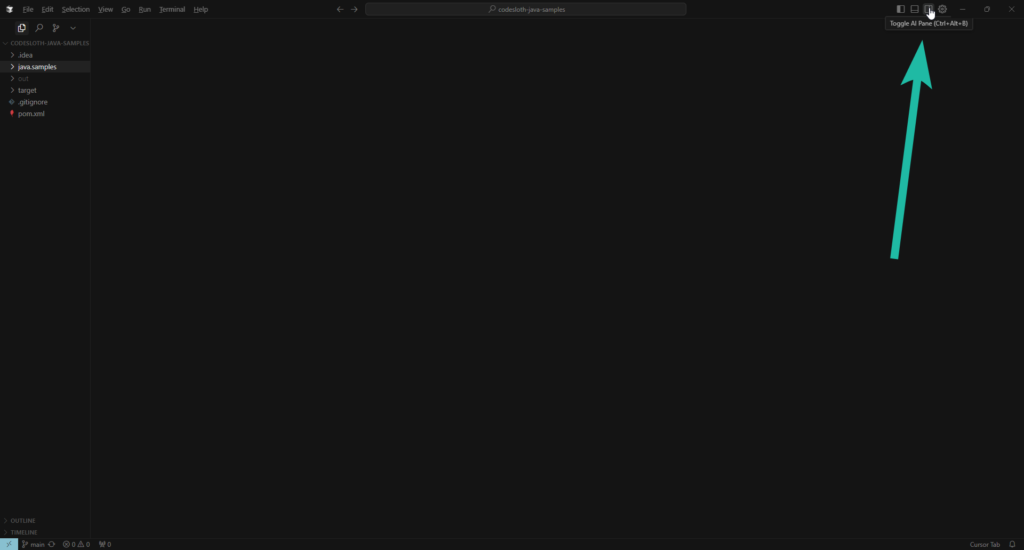
The AI pane is the heart of a Cursor workflow. You’ll find a button in the top-right corner of the UI that displays a hover note Toggle AI Pane. Click this, or press Ctrl + Alt + B
This will open the pane in which you can engage with a Large Language Model.
Click the small dropdown pill in the bottom left of the text box. This contains three different modes
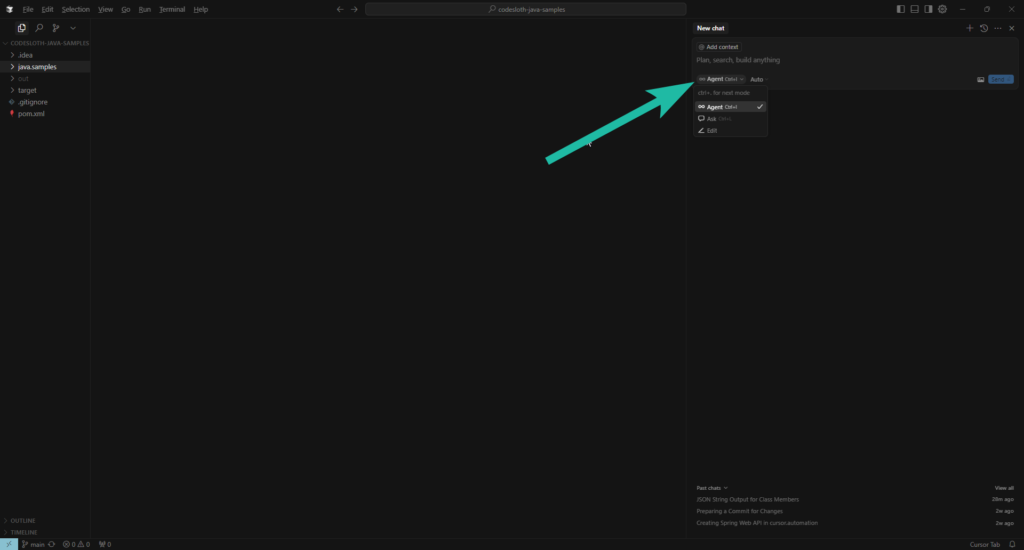
Editis for direct, simple edits (we won’t use this)Askis best to get information and answersAgentis for complex, multi-step tasks that require autonomous action, including interacting with the file system, or invoking MCP servers.
Getting Started with Cursor Ask Mode
Ask Mode Introduction
Select Ask mode. This works similarly to Chat GPT or Grok.
Click the Auto dropdown next to Agent. This will allow you to select which Large Language Model (LLM) you want to use to respond to the inputs that you type.

At time of writing, Claude-3.7-sonnet is the best-performing model for understanding your inputs and producing good outputs. However, note that you will have a limited number of fast requests to this model in the free version.
Now, ask it a question. For example: “what is the difference between claude sonnet 3.7, chat gpt and grok?”

Here, we can see the model provides an answer to the question. Pretty neat! It is important to understand that ask mode does not search the web for information, though.
Getting Started with Cursor Agent Mode
Select Agent mode. Continue with claude-3.7-sonnet. Here is where the fun begins!
Asking Questions To Agent Mode
The process of an LLM fetching information from the internet to form the basis for its output is called Retrieval Augmented Generation (RAG). Rather than a model being trained on a constantly aging data set, RAG allows it to gather relevant (up-to-date) information, ingest and understand it, and then provide an answer. Agent mode is capable of doing this.
If you need broader context for your question, it might be best to use agent mode.

In the above screenshot, when asked the same question, we can see that the agent mode performed two web searches to gather information before returning an answer.
Asking Questions to Ask Mode V.S. Agent Mode in Cursor
Cursor itself describes the best use cases for each
Ask Mode
Best for:
- Quick coding questions and explanations
- Understanding programming concepts
- Code reviews for snippets you’ve shared
- Syntax help and debugging advice
- Best practices and design patterns
- Algorithm explanations
Agent Mode
Best for:
- Exploring and understanding your specific codebase
- Making changes across multiple files
- Finding and refactoring code throughout your project
- Implementing new features that require codebase understanding
- Running terminal commands and executing code
- Using tools to search, read, and modify files
Programming with Cursor Agent Mode
You can literally ask it to do anything. For example:
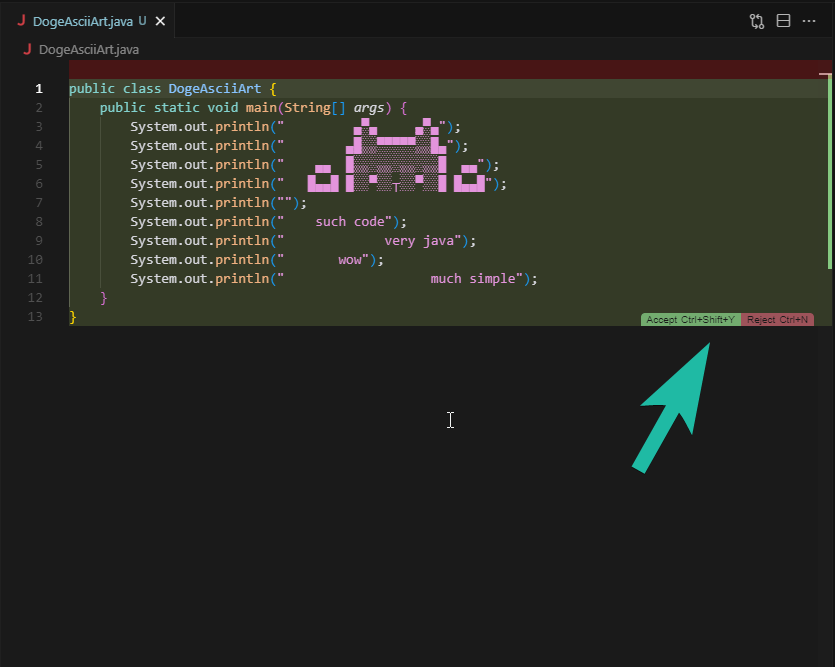
“Create me a single file java application that prints an ascii doge dog to the console”.
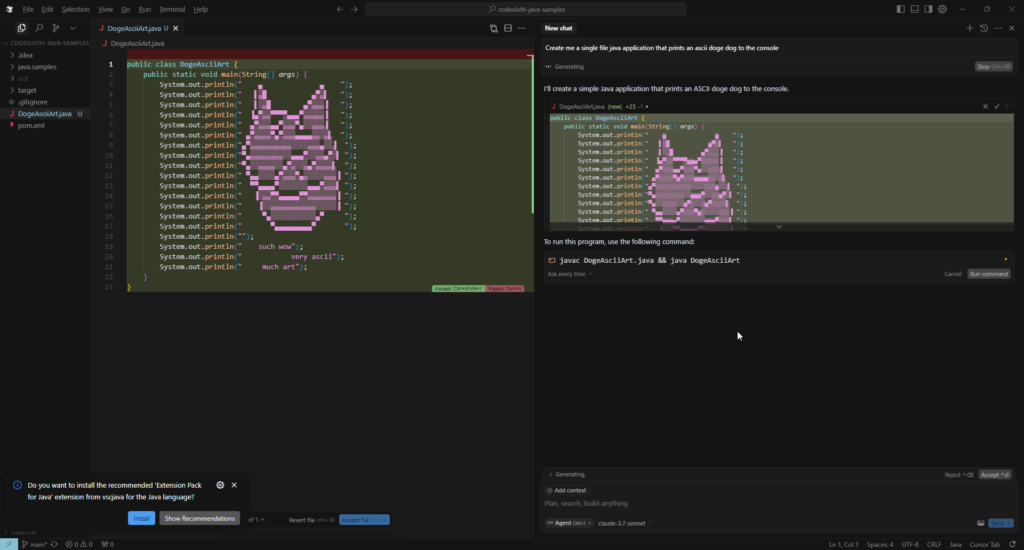
Hmm, it’s not the best artist. Not to worry, we can continue from our existing context and provide it with revisions.
“I dont like that image. Search for other examples of the doge dog and try again”
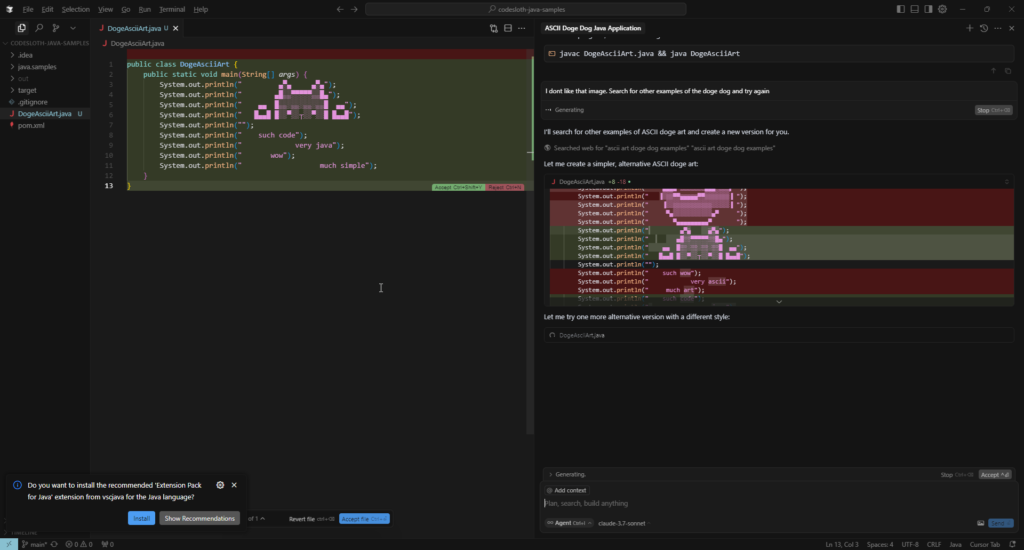
In the chat window, we can see the lines within the file that were edited in red, and added in green.
We can open this diff up in more detail by expanding the panel above the chat box and clicking the created file.

In this case, the entire contents of the file were replaced.
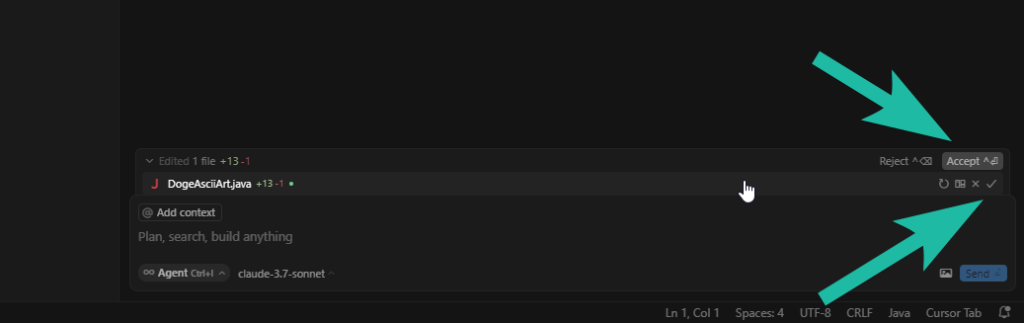
Accepting and Rejecting Changes
In this view, we are able to provide granular control over the changes that we keep or discard if they affect multiple parts of the file.
We are also able to keep or discard file-level changes by selecting the reject or accept buttons above the file list (this will allow you to reject or accept all if multiple files are edited). We can also do this by hovering over the file and clicking the check or cross.
Sloth Summary
This post covered a straightforward introduction to getting started with Cursor AI on Windows.
We explored the installation process, account creation, and the essential modes that make Cursor a powerful tool for software engineers.
We learned that Agent mode trumps Ask mode for most things and can be leveraged for our coding workflow. We also covered that the experience within the AI pane is incremental, i.e., the agent remembers what we have previously spoken about and can be told to improve its outputs.
This begins our journey with Cursor AI, Large Language Models, and MCP servers. In future posts, we’ll dive deeper into Rules/Specs and other features that will have you supercharging your productivity in no time! 🦥