

This article will cover installing all of the pre-requisites to get a beginner programmer up and running with .Net 6. Let’s jump in!
Installing Visual Studio 2022 Community Edition
In order to get started with programming in .Net you will need a development environment. For those new to programming you might be confused to hear this, given that it is possible to “code” or “program” in a text editor.
While this is true it isn’t the whole story for your workflow as a programmer. This is because programming happens in multiple steps:
- Writing code to “do something”
- Compiling (or building) code into something that a computer can understand and execute
- Running or debugging your code so that it can do the thing it was authored to do, or so you can debug why it isn’t doing what you thought it would do in the first place (most likely the latter when you’re getting started!)
Using any old text editor helps with step 1, but wouldn’t it be awesome if there was a tool that also does steps 2 and 3? Here’s where Visual Studio steps in as your Integrated Development Environment (IDE).
Head over to the Visual Studio Community edition website here and click the Download Visual Studio button. This will download the Visual Studio Installer, which can download new versions and upgrades old versions of Visual Studio. While the Community Edition of Visual Studio is free, it is still jam packed with all of the engineering features that you need.
Run the installer, click on the Available tab and then click the install button next to Visual Studio Community 2022 as below.

From here select the following:
- ASP.NET and web development
- .Net Desktop development
Click install, leaving default installation details checkboxes untouched.
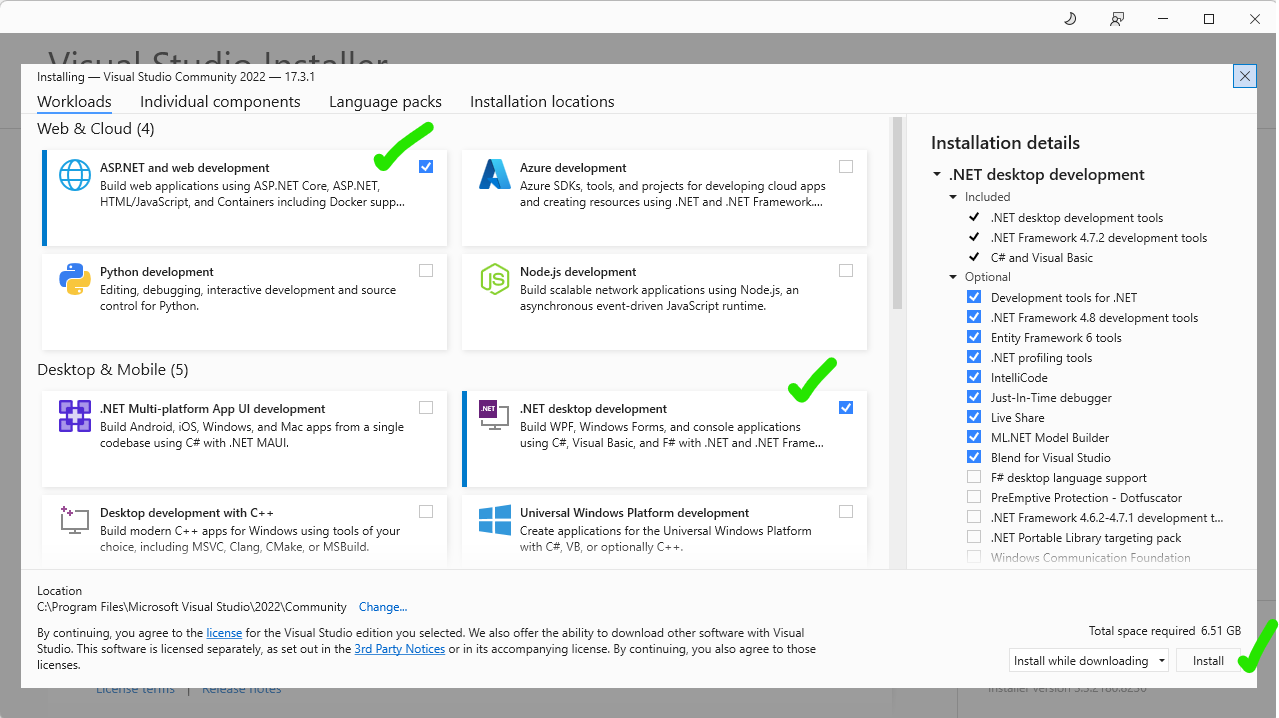
As you can see Visual Studio is full of awesomeness. 6.5GB of awesomeness to be exact!

You’ll then be shown the progress of your download in the Installed tab.
Once the installation is complete you may be prompted to login with a Microsoft account, after which you’ll be taken the welcome screen.
Visual Studio v.s. Visual Studio Code
You might have heard of Visual Studio Code and be wondering if you should use that instead. VSCode is an open source, cross platform, language agnostic tool. This means that it does not come with .Net development out of the box. It also means that the .Net extensions that you will need to install for a good engineering experience may not even be developed by Microsoft.
A wise Code Sloth would ask themself: if I have the choice of programming with a Microsoft proprietary language (C#) in a Microsoft proprietary framework (.Net 6) on a Microsoft proprietary operating system (Windows), would I choose the Microsoft proprietary IDE that comes with everything I could ever need, or another tool that I have to setup myself and then deal with a less-than-optimal development experience. I’ll let you answer that question for yourself – no judgement 🙂
The Difference Between .Net and C#
Saying that you want to write .Net code is a loaded statement. In reality .Net represents two things:
1. The .Net Core/Standard/Framework/6+ version that you are using
2. The version of C# that you are using
This page from Microsoft talks about the default C# language versions as they relate to their respective .Net version.
For .Net 6, the default C# language version is 10. As the C# language version changes over time, so too does the syntax. The syntax of the language refers to the words and symbols that we write to tell the computer what to do. This is exactly the same as the English language having syntactical rules for how we structure our sentences, such as using full stops to end a sentence. These repesent punctuation syntax.
Seeing as there are so many .Net Framework options we often have to download the one that we need to use. SDKs are reasonably large, so a lot of disk space would be wasted if they were all downloaded by default and never used. Also, as time goes on and newer versions come out, older versions fall out of support and stop receiving updates; ideally we migrated away from these over time (years).
This is why we need to now install the .Net 6 Software Development Kit (SDK).
Installing the .Net 6 Software Development Kit
As a software engineer you write code. However, the applications that you write are not entirely your own code.
This may come as a shock to an up and coming engineer. However, believe me when I say that it is literally impossible for you you to do it all yourself. I often have a giggle when I think back to my university days as I sat defiantly in a lecture theatre rebutting (to myself) my lecturers saying this exact same thing. You silly little yet-to-be-code-sloth, you!
This is where Frameworks come in. They not only help your application to “run”, but also come jam packed with functionality that supports the language that you are working with. This functionality might include doing things with files (creating, read, or deleting), or the internet (making http requests) and much more.
.Net 6 is a framework that contains functionality that we can use to write our code. It also contains development tools that will be used to compile and debug our code. All of this comes in a wonderful little package called a Software Development Kit (SDK).
Head over to the .Net 6 download page here and download the latest SDK version of .Net 6 for Windows. If you’re running a modern Windows OS you’ll likely need the x64 installer, as below.
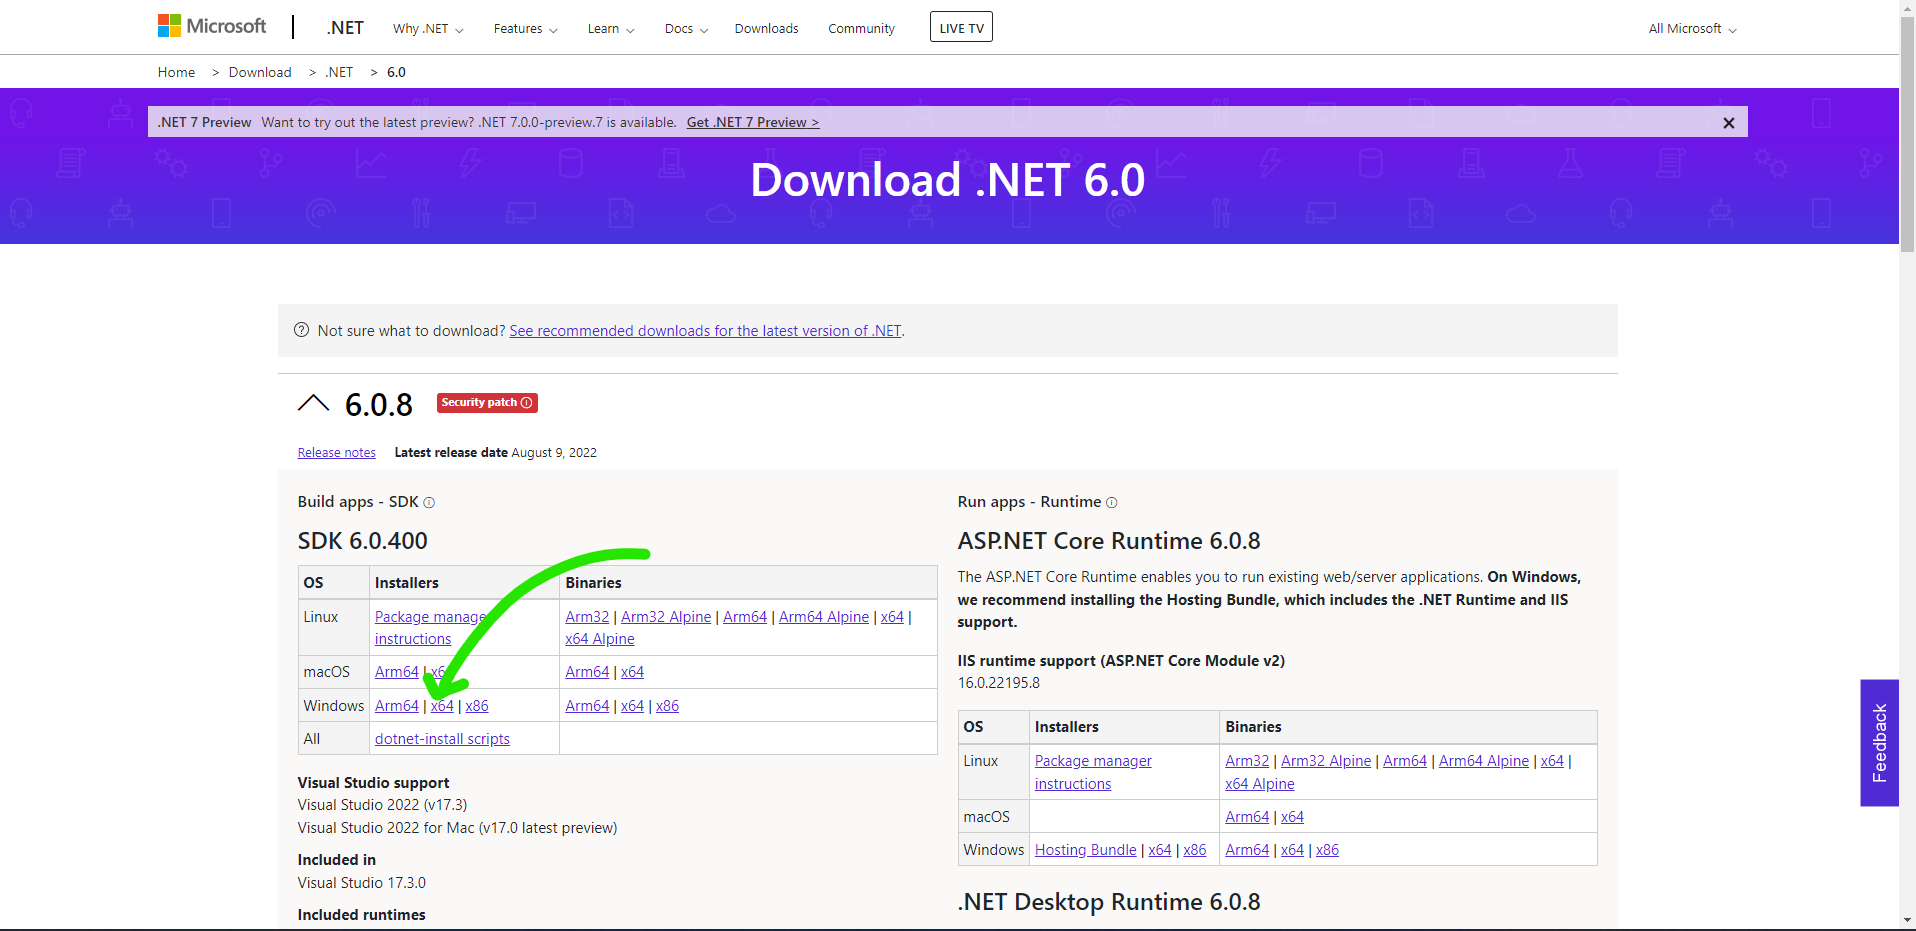
This page also contains downloads for the .Net 6 runtime.
The difference between a runtime installation and a SDK installation, is that the runtime only contains enough to be able to run a .Net 6 application. Therefore, it is smaller and suited to installing on servers or in Docker containers for running productionised code.
Double click the downloaded installer and click the install button.
This page also contains downloads for the .Net 6 runtime.
The difference between a runtime installation and a SDK installation, is that the runtime only contains enough to be able to run a .Net 6 application. Therefore, it is smaller and suited to installing on servers or in Docker containers for running productionised code.
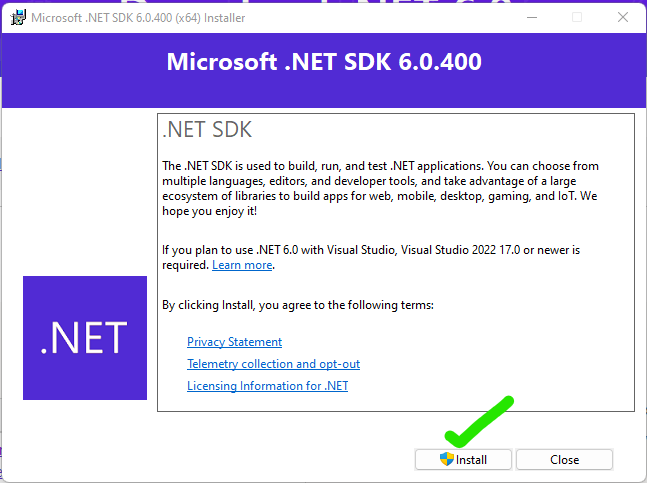
Double click the downloaded installer and click the install button.
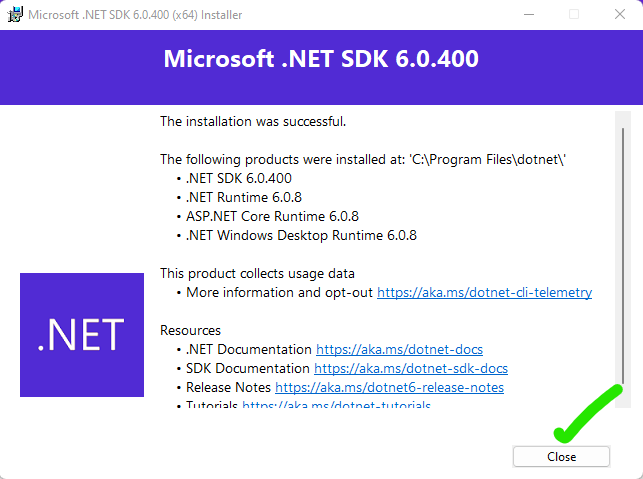
Before you know it the installation will be finished. Click close.
At this point it might be worthwhile closing Visual Studio and re-opening it, just to make sure that it sees the new SDK installation.
What are Visual Studio Solutions?
A solution in Visual Studio is a container in which you can organise your code.
- A solution may contain one or more projects or folders
- A solution folder can contain zero or more projects
- A project can contain zero or more folders and/or files
- A project folder can contain zero or more folders and/or files
- A file contains code
For the most part, these constructs are ultimately geared around helping to organise your code, because a large codebase can become unwieldly quite quickly.
It may look something like this.
Solution/
├─ SolutionFolder1/
│  ├─ Project1/
│  │  ├─ ProjectFolder1/
│  │  │  ├─ MyClass1.cs/
│  │  │  ├─ IMyClass.cs/
│  │  ├─ MyClass2.cs/
│  ├─ Project2/
│  │  ├─ MyClass3.cs/
│  │  ├─ MyClass4.cs/
├─ Project3/
│  ├─ MyClass5.cs/
Let’s see this in action!
Creating Your First Visual Studio Solution
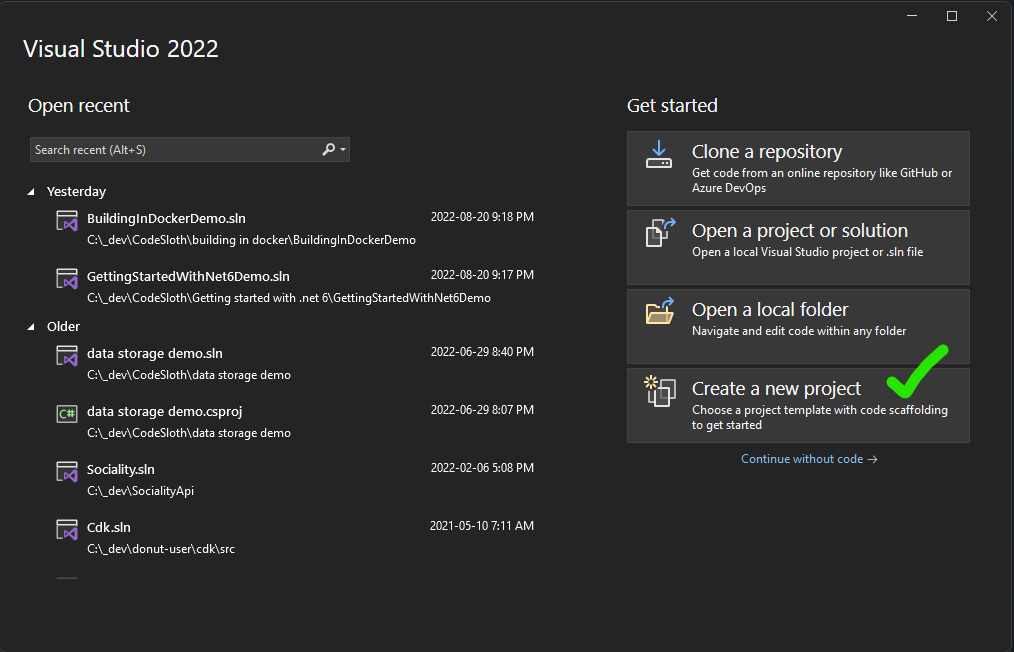
On the welcome screen choose Create a new project.
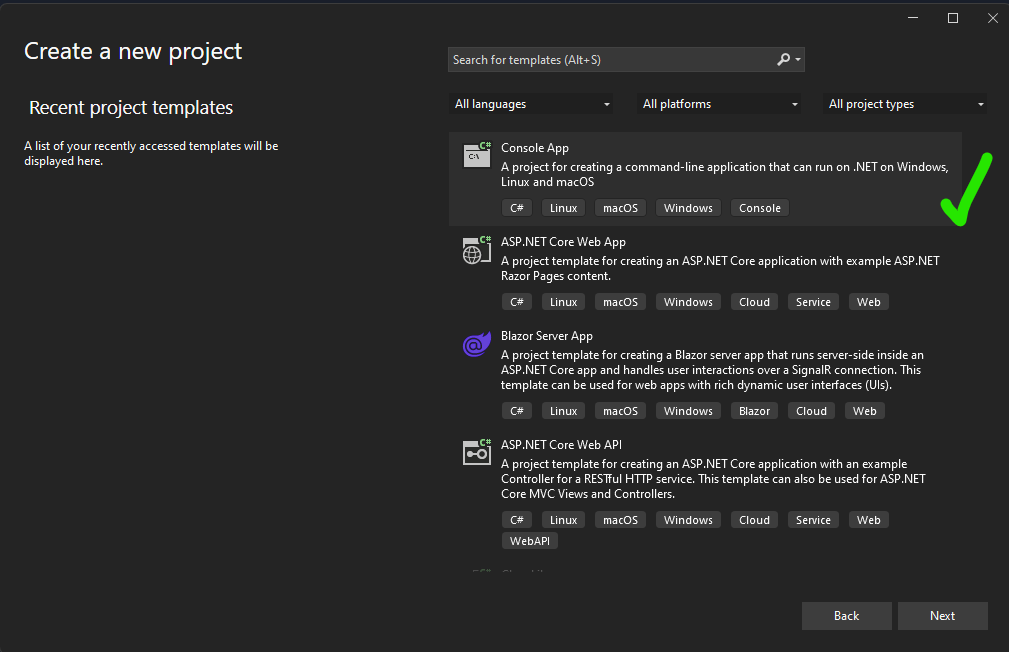
Choose Console App. This is the simplest type of application to make.
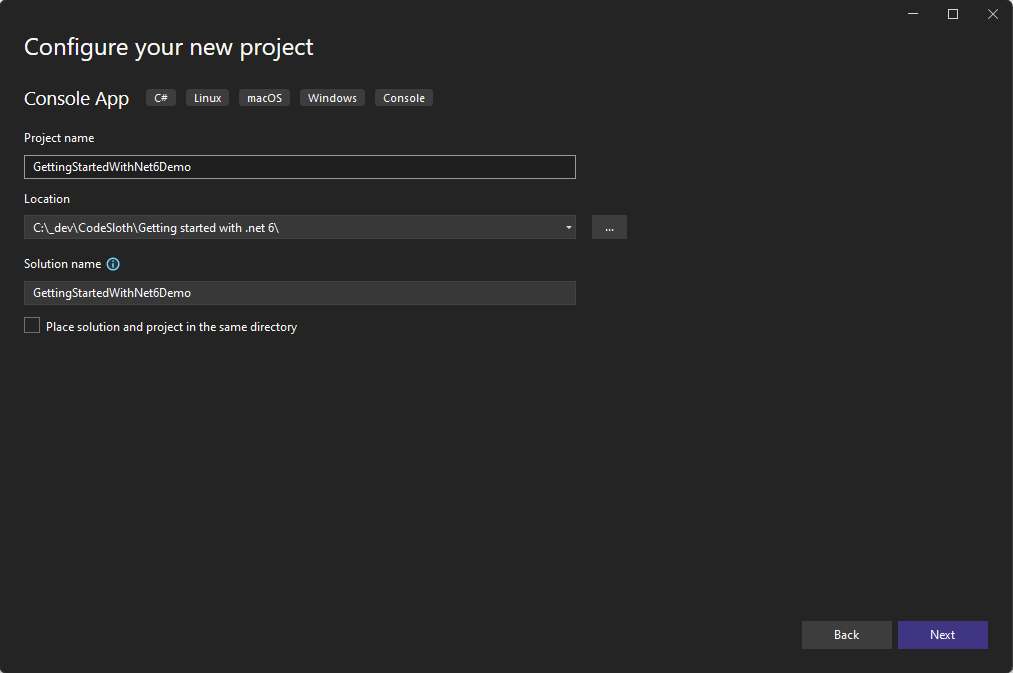
Give the project a name and selecting a location for it to be created. Leave the solution name as the default.
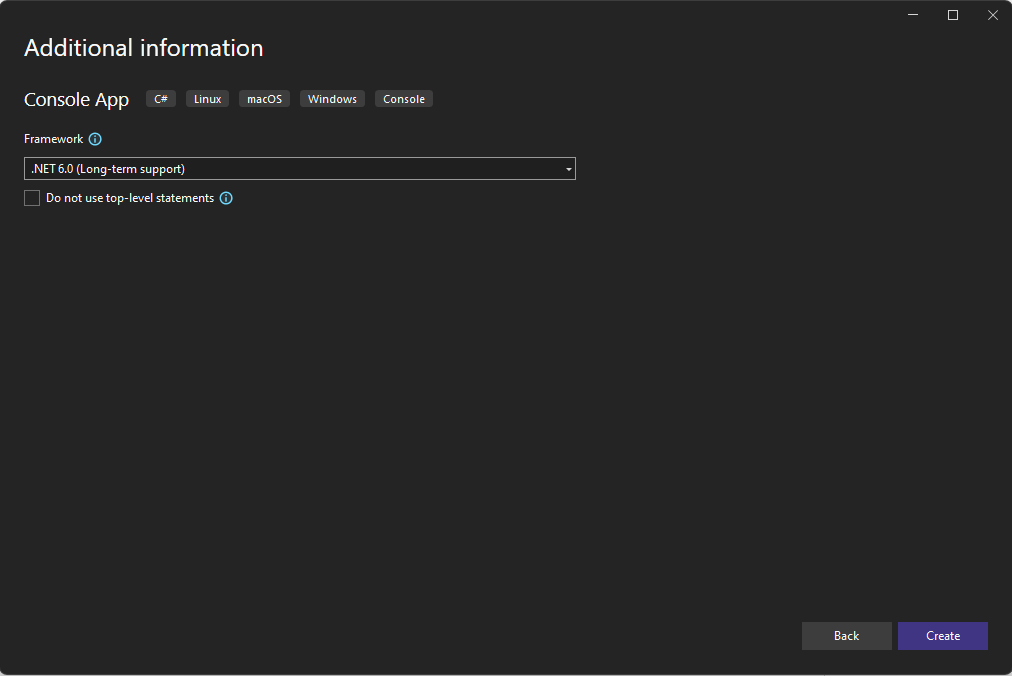
Select .Net 6 from the Framework dropdown. If you have not installed the .Net 6 SDK this option will not be available.
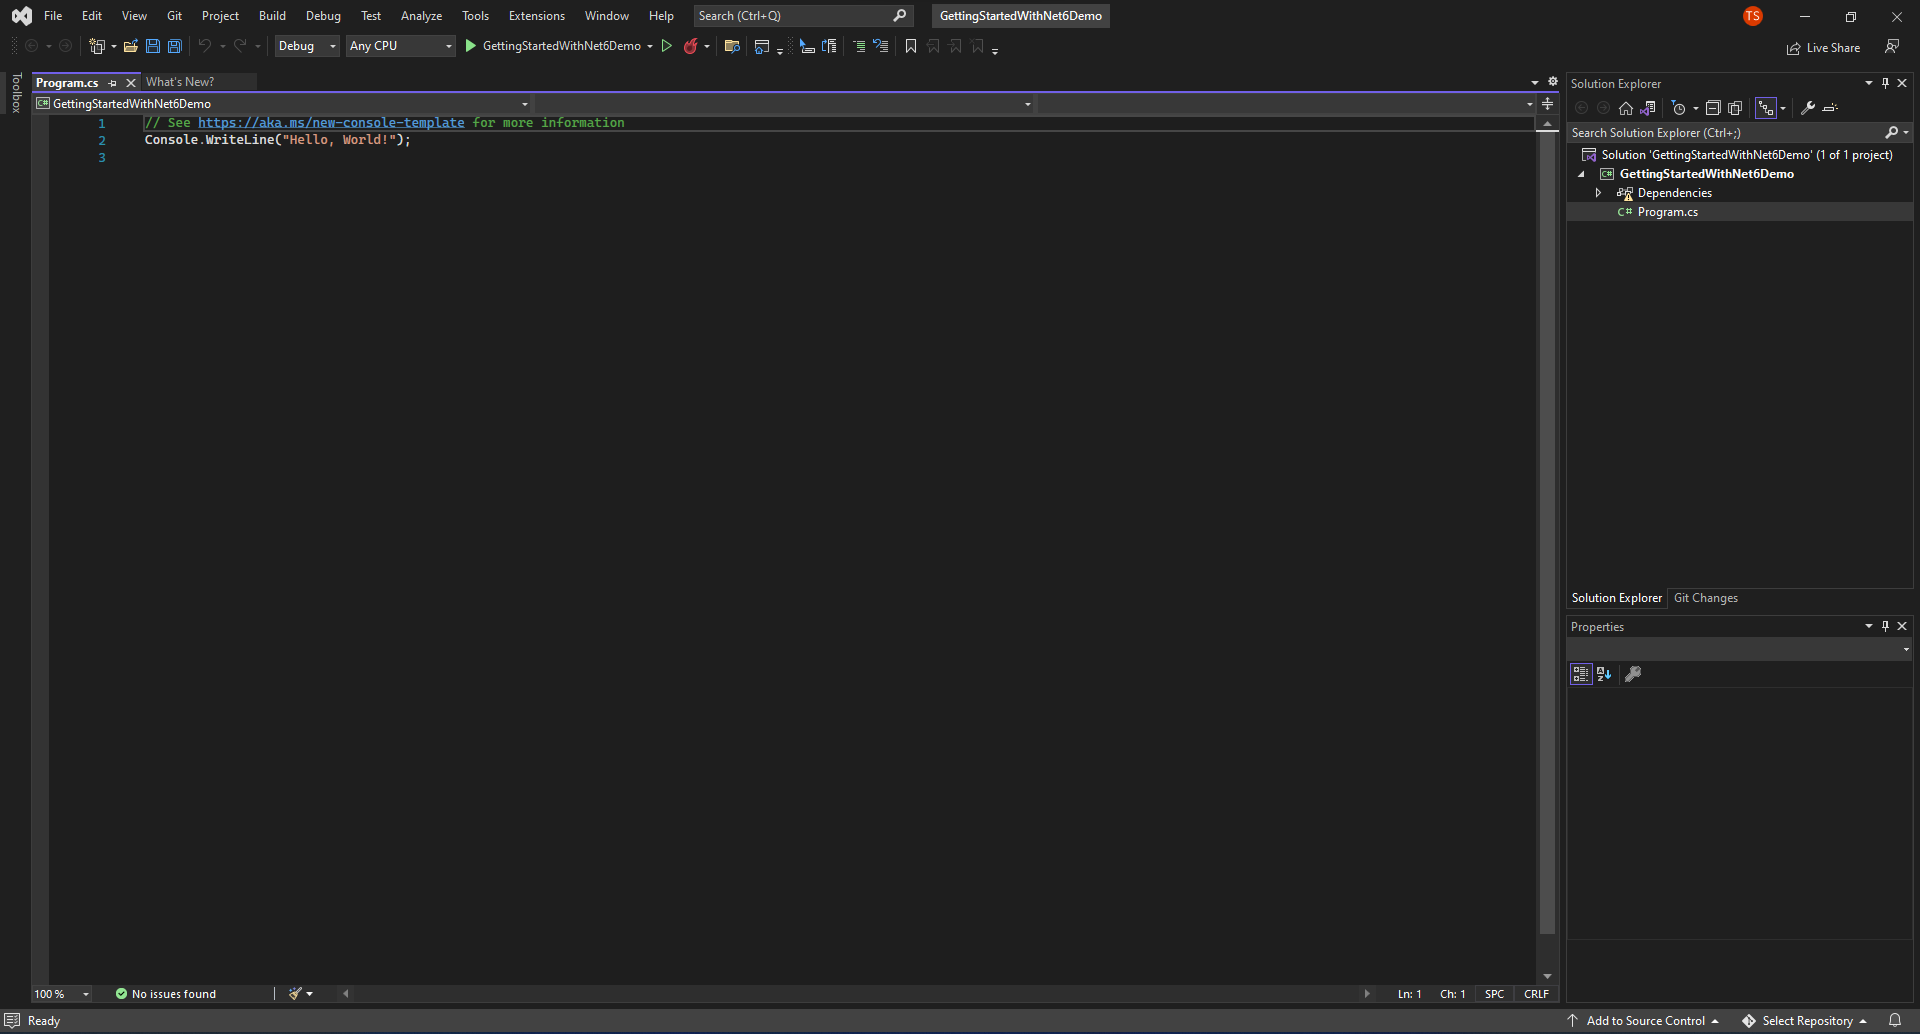
You’ll then be taken to the newly created solution!
Running Your First Application
Click the solid green play button to the left of the the project name in the top center of the screen, or press F5. You’ll see a new console window appear on your computer as below.
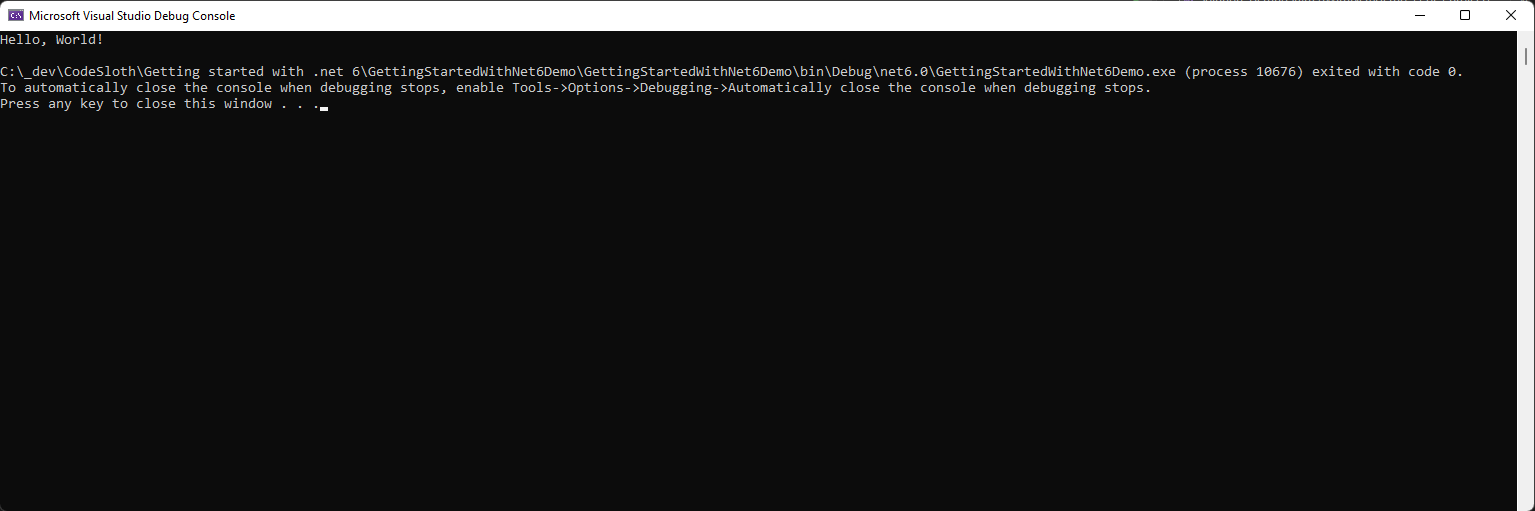
Congratulations, you have just created and run your first .Net 6 console application! In the coming articles we’ll extend on this application and start to add in more functionality.
Sloth Summary
If you’re just getting started with .Net and C# don’t worry. You’re literally embarking on learning a new language and we’ve finally reached a point where we can start writing some code!
Let’s recap the huge steps you’ve made so far. Currently you have:
- Installed Visual Studio Community Edition. This is your Integrated Development Environment (IDE)
- Installed the .Net 6 Software Development Kit (SDK) which will help you to develop your C# code
- Covered the difference between .Net (framework) and C# (language)
- Created your very first project and run it
Nice work!